
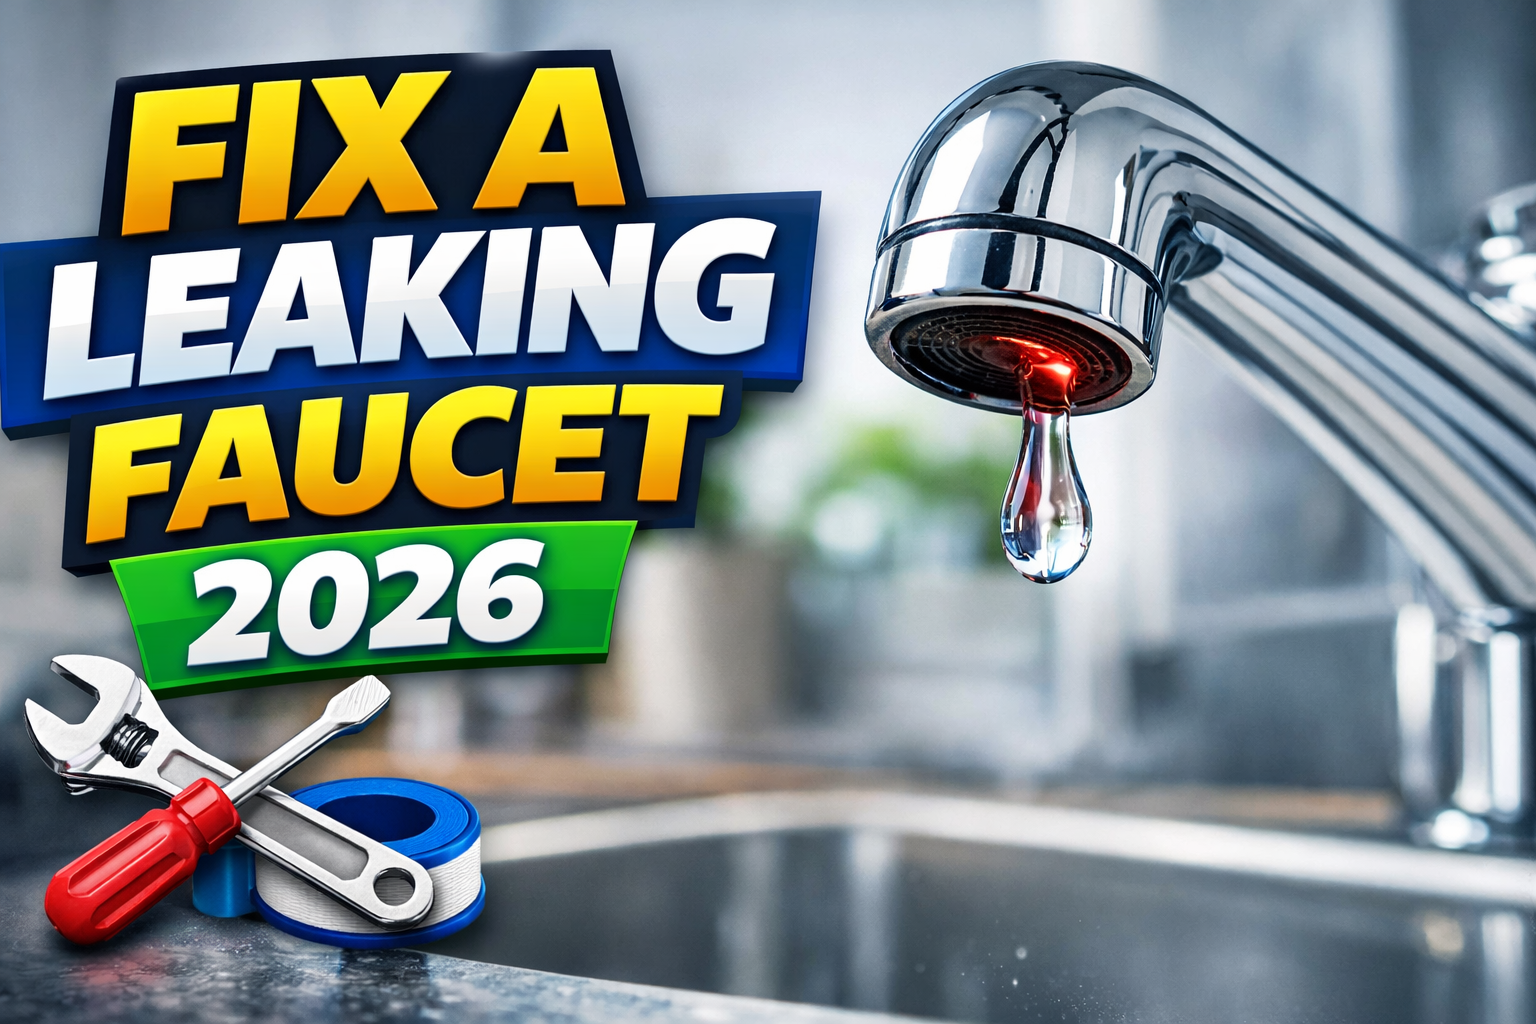
Faucet leaks are one of the most annoying problems you face in any home. You hear the constant drip, drip, drip, and it drives you crazy. A small leak might not look serious, but it wastes a lot of water over time. Every year, thousands of Americans search online for help with this issue. That’s why this practical article will guide you through the full process of repairing your faucet. This is a true plumbing repair guide designed to help you stop leaks with confidence. When you understand the basics, you realize that fixing a leaking faucet isn’t as hard as you once thought.
You’ll find leaking faucets in kitchens, bathrooms, basements, and laundry rooms. Most leaks start small and get worse slowly. If you ignore them, they can damage sinks and fixtures. Modern 2026 faucets often include updated cartridges and ceramic disks, but the core repair ideas stay the same. You don’t need fancy skills to handle this task. Many homeowners already perform DIY faucet repair without calling anyone. With a little patience and the right information, you can take control of the situation and fix a leaking faucet yourself.
Understanding Faucet Leaks USA Homeowner Basics

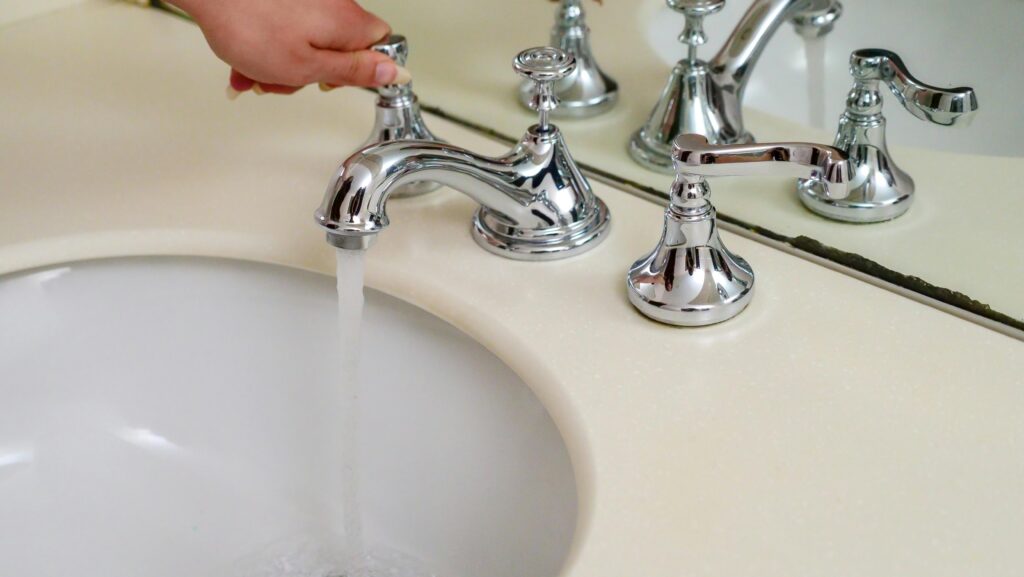
Before you begin any repair, you need to know what a leaking faucet really means. A leak happens when water escapes from parts that should stay sealed. Most homes in the USA use pressurized plumbing systems. When something inside the faucet wears out, water pushes through and creates a drip. You might notice wet spots around the handle or base. That kind of problem is called a faucet handle leak. You should never think leaks are harmless, because they add up fast and increase your bills.
Faucets work hard every single day in your home. You turn them on and off dozens of times. Over time, washers crack and seals loosen. Hard water leaves mineral deposits that damage internal parts. Even in 2026, the simple mechanical washer remains a major weak point. You’ll save money and prevent stress when you learn how to handle bathroom faucet repair or kitchen models on your own. Understanding the problem clearly helps you move forward with the right plan.
How to Identify the Source of a Faucet Leak
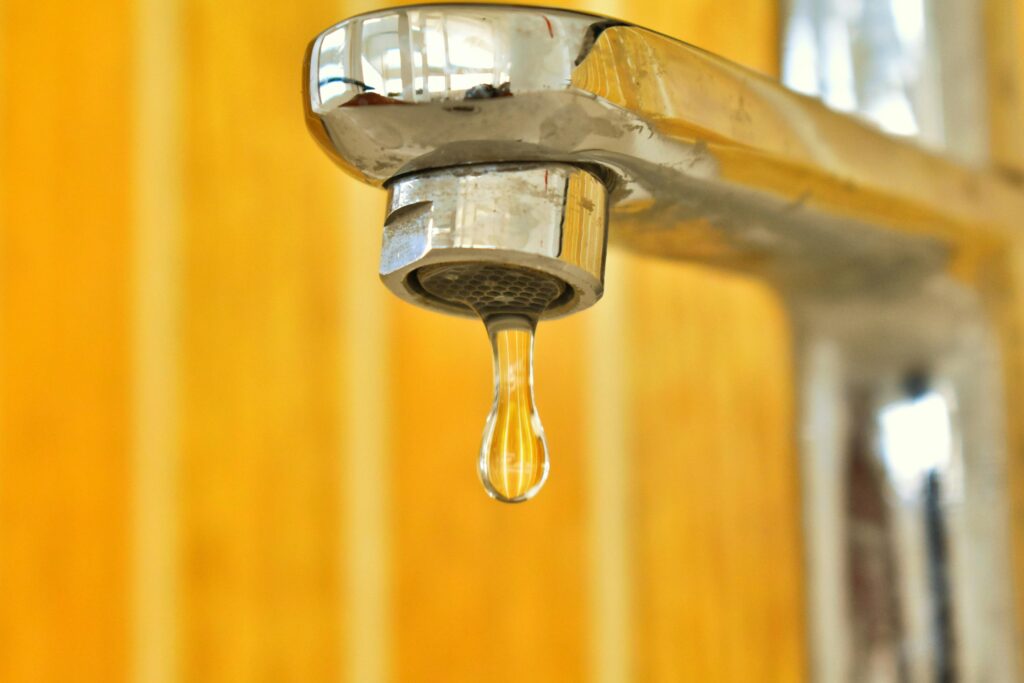
Finding the exact place of the leak is the first real job you must do. You can’t repair anything until you know where water comes from. You check the spout to see if water drips when the faucet is off. You look around the base to find moisture. Sometimes you’ll spot dripping near the stem. That problem requires stem leak repair. You take a few minutes to observe carefully and make notes.
Different leaks need different fixes. Water from the spout usually means a bad washer or cartridge. Water around the handle points to worn O-rings. Leaks under the sink often come from loose supply connections. You should test the faucet in both hot and cold positions. Many beginners rush this step, and they replace the wrong part. When you follow the correct steps to fix a faucet leak, you avoid that common mistake and work smarter.
Common Reasons Faucets Leak in Modern 2026 Fixtures

In 2026 faucets, leaks still happen for the same everyday reasons. Parts wear out and seals fail. Mineral buildup from hard water damages cartridges and disks. Loose internal nuts create gaps for water to escape. Cracked washers are another big issue you’ll face. Fixing those problems often involves a simple faucet washer replacement. You should always start by thinking about these normal causes.
Temperature changes also affect your fixtures. Rubber seals expand and shrink over time. Old faucets corrode inside and lose their smooth surfaces. Even brand-new homes can develop small drips. You don’t need to panic when you see a leak. You just need to understand why it happened and choose the right faucet leak repair method. That’s how you build real home maintenance experience and keep your plumbing in good shape.
Types of Faucets Used in the USA and Their Repair Methods

Homes across the USA use several common faucet designs. Each type works a little differently, and you should know what sits in your sink. Compression faucets are older and use simple washers. Cartridge faucets are more modern and include replaceable inner units. Ceramic disk faucets use flat rotating disks to stop water flow. Ball faucets have many small moving parts inside. You’ll run into all of these when you perform kitchen faucet repair or bathroom fixes.
You don’t have to become a professional plumber to recognize faucet types. You just remove the handle and look inside. The repair usually matches the design. Older compression faucets are the easiest to fix. Ceramic disk models cost more to repair, because cartridges are pricier. When you know the type, you follow a clearer household plumbing maintenance plan and finish the job faster.
Essential Tools and Safety Equipment for DIY Faucet Repair
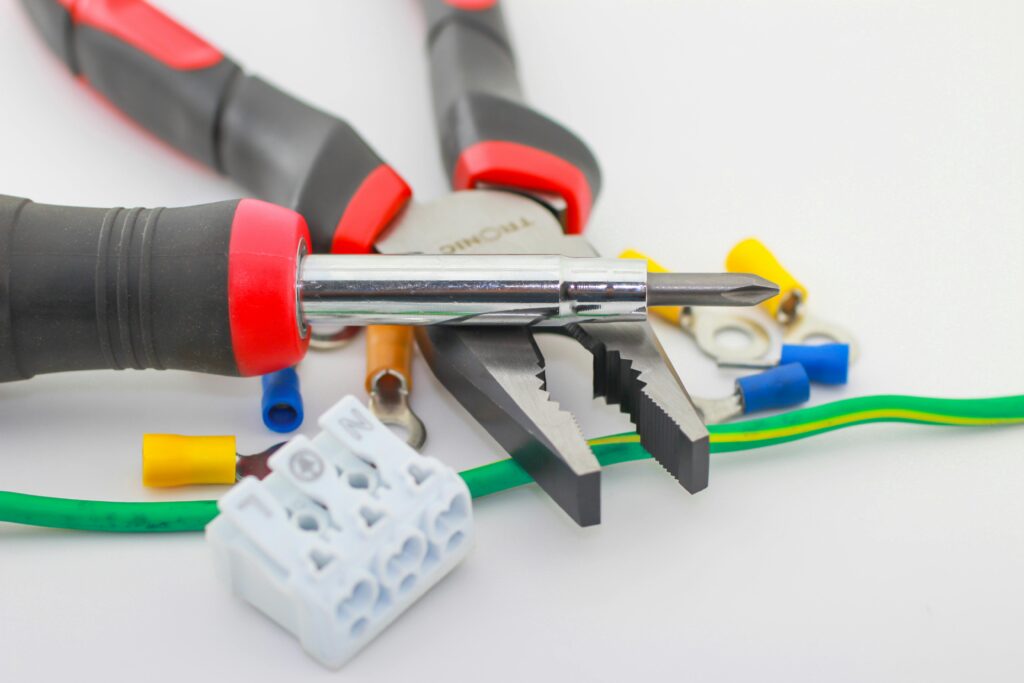
Every successful repair starts with proper preparation. You gather the correct plumbing tools before you touch the faucet. Most jobs require only basic household equipment. You’ll normally use a wrench, screwdrivers, and pliers. You also keep towels and a small container ready for loose screws. Using the right plumbing tools makes the whole process smooth and stress free.
Safety matters just as much as tools. You should protect your sink surface from scratches. You wear simple gloves if parts are dirty or sharp. You plug the drain so tiny screws don’t fall in. You don’t want to damage anything while trying to repair it. A careful approach helps you avoid faucet damage during repair and keeps your work area organized.
Step 1: Turning Off Water the Right Way (USA Plumbing Systems)

You always begin by learning how to turn off water supply correctly. Most USA homes include small valves under the sink. Those valves control water to the faucet only. You close both the hot and cold valves before starting. That valve is called the water supply valve. If you can’t find local valves, you shut off the main home valve.
Never skip this step. You don’t want a sudden spray of water in your face. Turning off water before repairs protects you and your home. You test the faucet after shutting the valve to make sure no water flows. A smart homeowner treats this as the golden rule of every plumbing repair project.
Step 2: Preparing Your Sink Area Before Repair
Preparation saves you from frustration later. You clear the space around the sink. You place towels and protect the countertop. You keep all new washers and seals within reach. This step matches the idea of preparing workspace for plumbing repair. A clean area helps you focus and finish quickly.
You should take a photo of your faucet before disassembly. That photo becomes your personal faucet parts diagram. You’ll thank yourself later when you forget the order of parts. Simple preparation keeps your confidence high and prevents unnecessary mess.
Step 3: Removing Faucet Handle Without Damage
Now you start the real hands-on process. You remove the decorative cap and loosen the screw. You gently lift the handle straight up. Some faucets need an Allen key, and others use normal screws. You shouldn’t force anything. You work slowly to avoid breaking the handle or finish.
Handle removal looks simple, but beginners often scratch or crack parts. You keep your movements controlled and steady. That’s how you follow the correct removing faucet handle safely rule. Once the handle comes off, you gain access to the internal mechanism.
Step 4: Taking Out the Internal Mechanism

After handle removal, you remove the stem or cartridge from inside the faucet. You use your wrench to loosen the retaining nut. You pull the mechanism out carefully. This is one of the key tools needed to fix a faucet steps in the process. You don’t rush, because small parts can break easily.
You inspect the removed unit to identify damage. You check for cracks, rust, and debris. The type of mechanism depends on your faucet model. Once it’s out, you’re ready to clean and repair the inner parts properly.
Step 5: Cleaning and Inspecting Faucet Components
Cleaning is a missing step many competitors ignore. You wipe every part you removed from the faucet. You remove mineral buildup and old grease. You inspect seals and rings closely. You make a small checklist and look for problems. This matches tightening packing nut properly and inspection guidance.
You should never reinstall dirty or damaged parts. Even a tiny piece of debris can cause another drip. A clean inspection gives you EEAT strength and shows you how to repair a leaking faucet at home like an expert homeowner.
Step 6: Replacing Seals, Washers, and O-Rings Correctly

Replacement is usually the heart of the fix. You match the exact size of washers and rings. You install new rubber parts in place of old ones. That job is called O-ring replacement. You apply a little plumber’s grease and tighten everything gently. Replacing faucet washers and O-rings stops most everyday leaks.
You should always buy quality parts from a trusted USA hardware store. Cheap washers fail fast and create repeat problems. Proper replacement brings your faucet back to life and helps you complete effective water leak repair at home.
Step 7: Installing a New Cartridge or Valve When Needed

Sometimes cleaning and washers won’t solve the issue. In that case, you install a brand new cartridge. You slide the new unit in and secure it with the retaining nut. You don’t need advanced skills for this step. You just follow the same order in reverse. This is a common method used in sink faucet repair projects.
Modern 2026 cartridges are durable and efficient. They last longer than older stem units. Installing a fresh cartridge often feels like giving your faucet a second chance at a brand new start.
Step 8: Reassembling the Faucet Like a Professional

Reassembly requires calm and focus. You put every part back exactly where it belongs. You tighten nuts gently and reinstall the handle. You wipe the sink clean and remove towels. You don’t over tighten anything. This step reflects proper testing faucet after repair preparation.
You should always double check alignment before finishing. Correct reassembly prevents water damage in home and avoids new scratches or breaks. Once everything sits back together, you’re almost done.
Step 9: Testing the Faucet After Repair

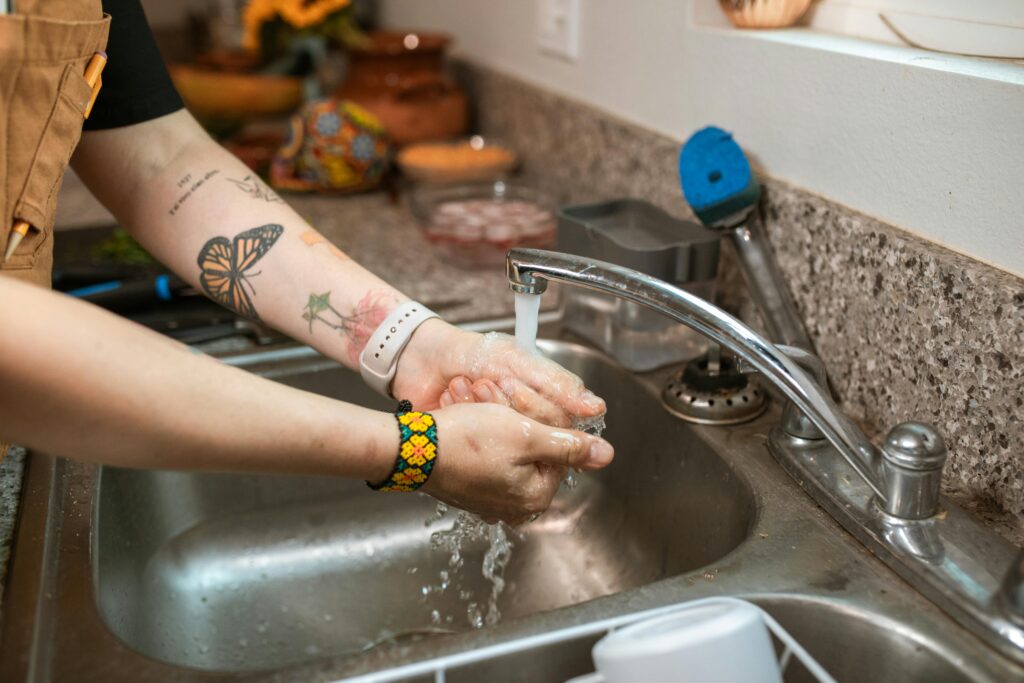
Now comes the moment of truth. You open the water supply valve slowly. You run water and watch closely for drips. You test both hot and cold sides. Testing faucet after repair confirms whether your work succeeded.
If you don’t see any leak, you celebrate your DIY success. If a drip remains, you repeat the inspection and adjust the packing nut. Careful testing gives you confidence and proves you handled the repair like a smart homeowner.
How Much Water a Leaky Faucet Wastes Per Year in the USA

A leaking faucet wastes more water than you imagine. Even a small drip can lose hundreds of gallons each month. Saving water by fixing leaks helps you reduce water waste and protect the environment. This is one of the best water conservation tips you can follow in any American home.
When you stop leaks early, you lower your water bill and avoid fixture damage. Water bill reduction after leak repair becomes a real benefit you’ll notice every month. Fixing your faucet is a simple act that supports water conservation across the USA.
When Faucet Repair is Not the Best Option

You can’t repair every old faucet forever. Sometimes parts are too corroded or damaged. In those cases, replacement is smarter than repair. You decide to install a new unit instead. Knowing when to call a plumber also becomes important here.
If you tried several repairs and the faucet still leaks, you shouldn’t waste more time. You choose a new faucet and move forward. A confident homeowner knows the limits of DIY work and makes practical decisions.
Average Cost of Faucet Repair vs Replacement in 2026 (USA)
Cost and time estimates help you plan better in 2026. Here is a simple example table that adds real value:
| Repair Job | Typical USA Cost |
| Washer replacement | $5–$15 |
| O-ring replacement | $3–$10 |
| Cartridge replacement | $15–$60 |
| New faucet installation | $80–$300 |
You can see clearly that DIY repairs are far cheaper. Professional help costs more, but it saves effort in complex problems. Understanding water bill reduction after leak repair helps you justify the small expense of new parts.
When You Should Replace the Entire Faucet

You replace the whole faucet when it’s very old or badly damaged. You shouldn’t fight with a fixture that already reached the end of its life. New faucets in 2026 are efficient and stylish. Replacing the entire faucet gives you a fresh start and prevents future drips.
You can install a modern kitchen faucet repair model with better technology. That upgrade improves the look of your sink and adds long-term reliability. Sometimes replacement is the final smart step in any home maintenance guide.
Preventing Future Faucet Leaks Maintenance Plan for USA Homes

Prevention is always better than repair. You clean aerators regularly and avoid forcing handles. You check seals once in a while and replace small parts early. Following reduce water waste ideas helps you maintain fixtures longer. Good household plumbing maintenance protects your home from water leaks.
You don’t need to wait for another annoying drip. A simple maintenance habit keeps your faucets healthy year after year. Water conservation tips and gentle use are the keys to a leak-free American home in 2026.
Frequently Asked Questions About Fixing a Leaking Faucet
What is the most common cause of faucet leaks?
Worn washers and damaged seals cause most leaks.
Can you fix a leaky faucet yourself at home?
Yes, you can handle many leaks with basic tools.
How long does dripping faucet repair take?
Most repairs take less than one hour.
Is shutting off water before repairs necessary?
Yes, you must always turn off water supply first.
When should you call a plumber?
You call a plumber if pipes are damaged or leaks continue.
Final DIY Checklist for Leaky Faucet Repair Success
In 2026, fixing a leaking faucet is still one of the easiest DIY jobs you can perform. You just follow the right steps, use proper tools, and test your work carefully. You save water, reduce bills, and protect your sink from damage. This complete guide showed you exactly how to repair a leaking faucet at home with confidence.
You don’t have to live with that annoying drip anymore. Now you’ve got the knowledge to fix a leaky faucet yourself in any USA home. Go ahead, grab your tools, and stop the leak today.
I am a dedicated content creator and researcher with a passion for sharing insightful information across various topics. From lifestyle tips to deep meaningful quotes, I aim to provide my readers with accurate, engaging, and high-quality content that adds value to their daily lives.